
Low-Light Noise Reduction: Teleprompter Guide
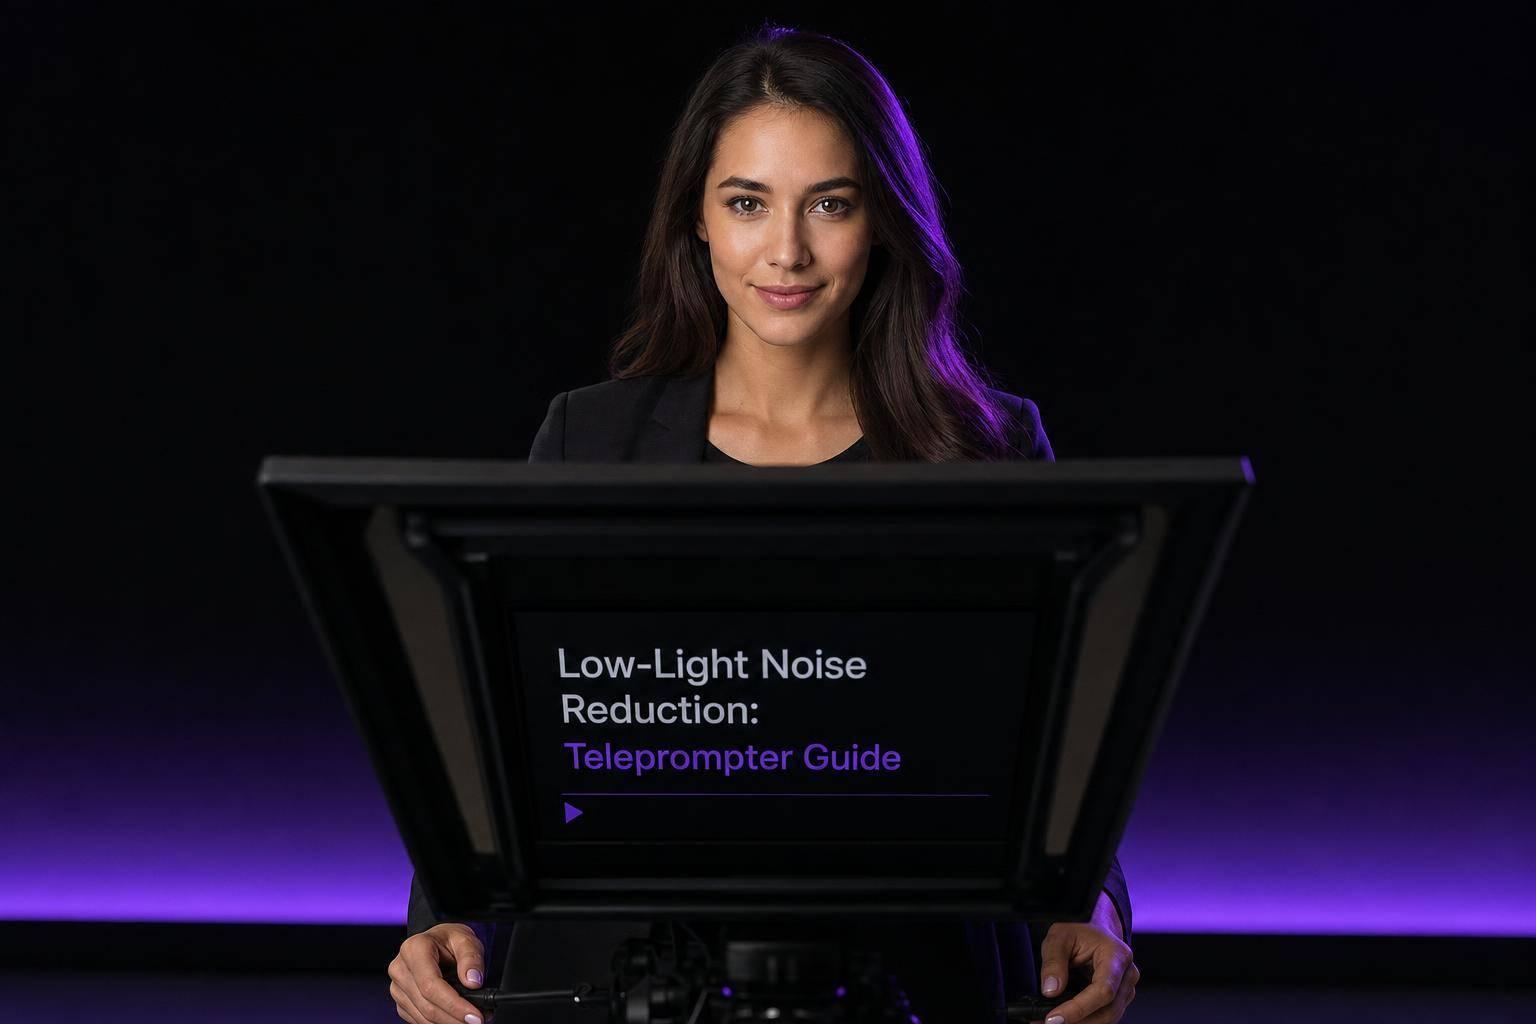
Low-Light Noise Reduction: Teleprompter Guide
If my teleprompter video looks grainy, I fix the light before I touch ISO. In most cases, noise comes from three things: a dim scene, ISO pushed too high, and a background that falls too close to black.
Here’s the short version:
- I set the teleprompter screen first, usually around 40%–60% brightness
- I keep text large, light-colored, and high contrast so I can read it without making the screen too bright
- I set exposure in this order: more light, wider aperture, shutter speed, ISO last
- I keep shutter speed near 2x frame rate
- I place a soft key light 20–45 degrees off-axis
- I keep the subject about 3–4 feet from the teleprompter and 3–6 feet from the wall
- I keep the background dim, but not black, usually about 1–2 stops darker than the face
That’s the whole idea. Cleaner low-light teleprompter footage usually comes from better exposure and light placement, not from camera tricks. If I lock the screen brightness, manual exposure, and light positions before I record, I get a cleaner image and fewer mid-take brightness shifts.
Use the same setup each time, and the results stay more consistent.
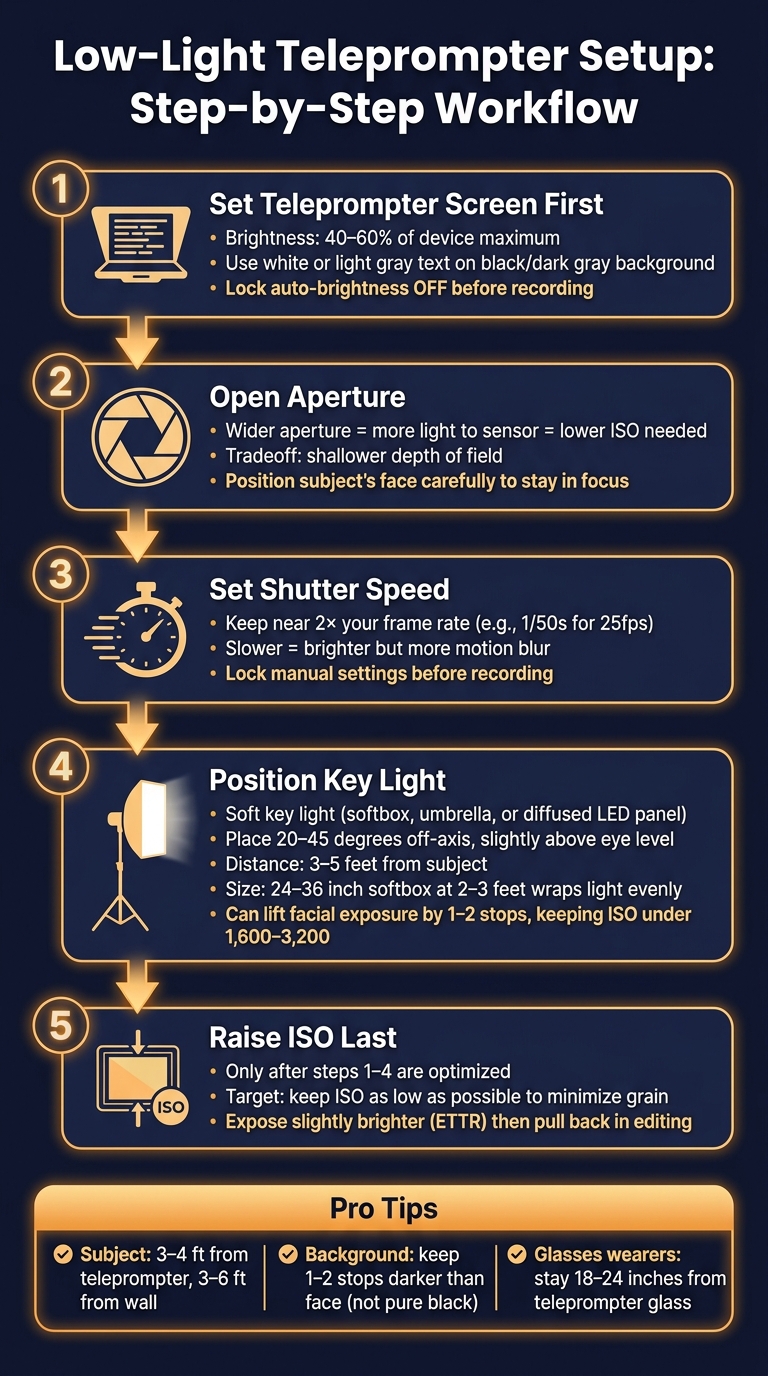
Low-Light Teleprompter Setup: Step-by-Step Workflow
Set teleprompter brightness before touching camera settings
The teleprompter screen is part of your lighting setup. It lights your face, shows up in the glass, and shapes every exposure choice that comes after. So set it first. Once the screen is dialed in, you can balance the camera around it.
If the screen is too bright, you’ll get glare on the glass and hot spots on the forehead and cheeks. If it’s too dim, you may try to fix the problem with camera settings instead of fixing the source. What you want is a steady middle ground: bright enough to read with ease, dim enough that it doesn’t overpower your key light.
Use moderate screen brightness with high-contrast text
Start at 40–60% of your device's maximum brightness, then fine-tune from there. Pair that with white or light gray text on a black or very dark gray background so the script stays easy to read at a lower luminance.
Record a short test clip and watch for blown highlights on skin or glare on the glass. If you spot either one, lower the brightness a bit. If the text gets harder to read, increase font size instead of raising brightness.
Reduce reflections with correct eye-line and glass alignment
The beamsplitter glass sits at roughly 45 degrees between the screen and the lens. Keep the lens centered behind the glass at eye level. That helps reflections stay even and cuts down glare. Move the lens off-center, and the light on the face can become uneven, with a higher chance of glare showing up at an angle.
Keep the script centered on the screen too. That helps limit eye movement and small reflection shifts. It’s also smart to check what’s behind the camera. Windows, lamps, or white walls can bounce into the glass. Dim them, move them, or cover them with dark fabric.
Use Evelize teleprompter settings to keep brightness lower

Use Evelize controls to enlarge the text, keep a dark background, and match scroll speed to your speaking pace. That lets the screen stay dimmer without making the script harder to follow.
Turn off auto-brightness on the device running Evelize and lock it to a fixed level before touching the camera. Auto-brightness can change screen luminance mid-take when ambient light shifts. That can lead to slight flicker or small changes in facial exposure during a take.
Once the screen is stable, move to camera exposure.
sbb-itb-4a26d6a
Dial in exposure settings in the right order
With screen brightness fixed, set exposure in this order: add light, open aperture, set shutter speed, then raise ISO last. That sequence helps keep ISO lower, which means less grain.
After exposure is set, you can fine-tune the look by shaping the subject and background.
Open aperture and set shutter speed before raising ISO
A wider aperture lets more light hit the sensor, so you can often keep ISO down. The tradeoff is a shallower depth of field. In plain English, less of the scene stays in focus. So place the subject’s face and eye-line with care so they stay sharp.
For shutter speed, keep it near double your frame rate. That usually gives motion a natural look without making the shot darker. You can go slower for more brightness, but there’s a catch: more motion blur, especially in the face and hands.
Expose slightly brighter to keep shadows cleaner
A slightly brighter image usually gives you cleaner skin tones and less shadow noise than shooting dark and lifting it later in editing. This mild expose-to-the-right approach means pushing exposure a bit brighter than your final target, then pulling it back later if needed.
ETTR means capturing more clean light at the sensor, not trying to save a dark image with ISO. If the shot still needs more brightness after you’ve added light, opened the aperture, and set a normal shutter speed, then raise ISO as the last move.
Lock manual settings on phones and cameras
On a smartphone, lock exposure after you frame the subject. Most camera apps let you tap to focus, then press and hold to lock focus and exposure. Skip digital zoom. It softens the image and can make noise stand out more. If you need a tighter shot, move the phone closer instead.
On a mirrorless or DSLR camera, use manual mode with fixed aperture, shutter speed, and ISO. Auto exposure can react to moving hands, facial movement, or teleprompter screen reflections, which can make brightness shift in the middle of a sentence. Lock your manual settings before recording so exposure stays steady.
Position the subject and lights to cut grain on the face and background
Once exposure is locked, your next job is simple: use distance and light placement to stop shadows from turning into grain.
Keep the subject far enough from the teleprompter and background
A bit of space goes a long way here. Put the camera and teleprompter about 3–4 feet from the subject, and leave 3–6 feet between the subject and the wall. That gap helps soften the background and keeps the key light from flattening everything into one plane.
If you wear glasses, back up so you're 18–24 inches from the teleprompter glass. That small shift changes the reflection angle enough to keep those bright boxy reflections off your lenses, without forcing you into an awkward head tilt.
Angle the key light slightly off-axis from the teleprompter
Set a soft key light a little above eye level and 20–45 degrees off-axis. A soft key light - like a softbox, umbrella, or diffused LED panel - placed around 3–5 feet from the subject can help fix this fast. In many setups, that placement can lift facial exposure by 1–2 stops, which cuts grain in skin tones and the shadows around the face.
Bigger and closer usually means softer light. A 24–36 inch softbox placed 2–3 feet away wraps more evenly around the face than a small panel pushed farther back. That smoother light can also help you keep ISO under 1,600–3,200 on most modern cameras and phones.
Lift dark backgrounds instead of leaving them near black
Near-black backgrounds are where noise loves to show up. If the background sits 3 or more stops below the face, the camera ends up trying to pull detail from very dark areas. That’s when grain gets louder and banding starts to look blotchy. A small accent light behind the subject can help bring the background up, so it stays 1–2 stops darker than the face. You still get separation, but the background looks cleaner and doesn't steal attention.
After adding any background light, check the teleprompter glass for new reflections. If you spot glare bouncing back toward the camera, block it with a piece of black foam board used as a flag.
Conclusion: Build a repeatable low-light teleprompter workflow
Once your screen, exposure, and lighting are dialed in, stick to the same setup every time. Clean low-light teleprompter video comes from repetition. Use the same screen, light, and exposure settings from shoot to shoot. That consistency is what separates clean footage from noisy footage.
Start with light, aperture, and shutter speed before you touch ISO. Keep faces a little bright, and don’t let the background sink too close to pure black.
Evelize helps you keep the screen dimmer by increasing text size and contrast instead of screen brightness.
Use this quick pre-recording check:
- Teleprompter screen: Moderate brightness, high-contrast text, readable font size
- Eye-line: Center the text behind the lens and keep eye-line steady
- Exposure: Lock manual exposure, set shutter near double your frame rate, open aperture first, keep ISO low
- Key light: Use a soft key light slightly above eye level and off-axis
- Subject distance: Keep space between subject, teleprompter, and background
- Background: Keep it dim, not black; lift it slightly with accent light
FAQs
What ISO is too high for low-light teleprompter videos?
There isn’t a single ISO number that’s always too high. In low light, increasing ISO can make your image brighter, but it can also add visible grain.
If you want cleaner video, keep ISO as close to its base setting as you can. Before pushing it up, open your aperture first - something like f/1.8 to f/2.8 is a good place to start.
How can I reduce teleprompter glare if I wear glasses?
Adjust your lighting so it doesn't hit your lenses head-on. A simple fix is to move your key lights a bit higher, tilt them downward, and place them about 30 to 45 degrees to either side of your face. Soft, diffused light usually works better than harsh light, which tends to bounce straight off your glasses.
If glare still shows up, try tilting your glasses slightly downward. In Evelize, using a dark background with high-contrast text can also help cut screen glow reflecting off your lenses.
Why does my background look noisy even when my face looks fine?
Your face might look nicely lit, but the background can still turn grainy if the camera is trying to make up for low light. That noise tends to show up most in the darker parts of the shot.
The fix is pretty simple: keep the lighting even across the frame and use a dedicated light source, like an LED panel or softbox, set at about a 45-degree angle. That gives the camera more light to work with, so it doesn't have to push the shadows so hard.
Related Posts
Ready to Elevate Your Content?
Try Evelize for free and experience the easiest way to create, edit, and share professional videos. Script writing, teleprompter, and powerful video tools - all in one app!


